
When it comes to DIY home improvement projects, installing plasterboard (also known as drywall or gypsum board) is a common task that can greatly enhance the aesthetics and functionality of a space. Whether you want to create smooth and seamless walls or soundproof a room, plasterboard can be an excellent choice. However, gathering all the necessary materials and tools is essential before diving into the installation process. In this guide, we’ll walk you through shopping for everything you need to install plasterboard successfully.
Plasterboard Sheets
The first item on your shopping list should be to buy in bulk drylining sheets. These are available in various sizes and thicknesses, so ensure you measure your walls accurately to determine the right dimensions for your project. Common sizes include 1200mm x 2400mm (4ft x 8ft) and 900mm x 1800mm (3ft x 6ft), while thicknesses range from 9.5mm to 15mm. Thicker boards are ideal for soundproofing and areas prone to impact, while standard boards work well for most interior walls and ceilings.
Jointing Compound
Jointing compound, also known as joint compound or filler, is a must-have for plasterboard installation. This material is used to fill gaps between plasterboard sheets, creating a seamless and smooth surface. Pre-mixed jointing compounds are available for convenience, but if you want more control over consistency, you can choose powdered versions that you mix yourself.
Plasterboard Screws
Plasterboard screws are specifically designed for securing plasterboard to wooden or metal frames. These screws have a coarse thread and a flat head that sits flush with the board’s surface. When shopping for screws, consider the thickness of your plasterboard and the type of frame you’re attaching it to. It’s a good practice to space the screws about 200-250mm apart along the edges and every 300mm in the centre to ensure secure attachment.
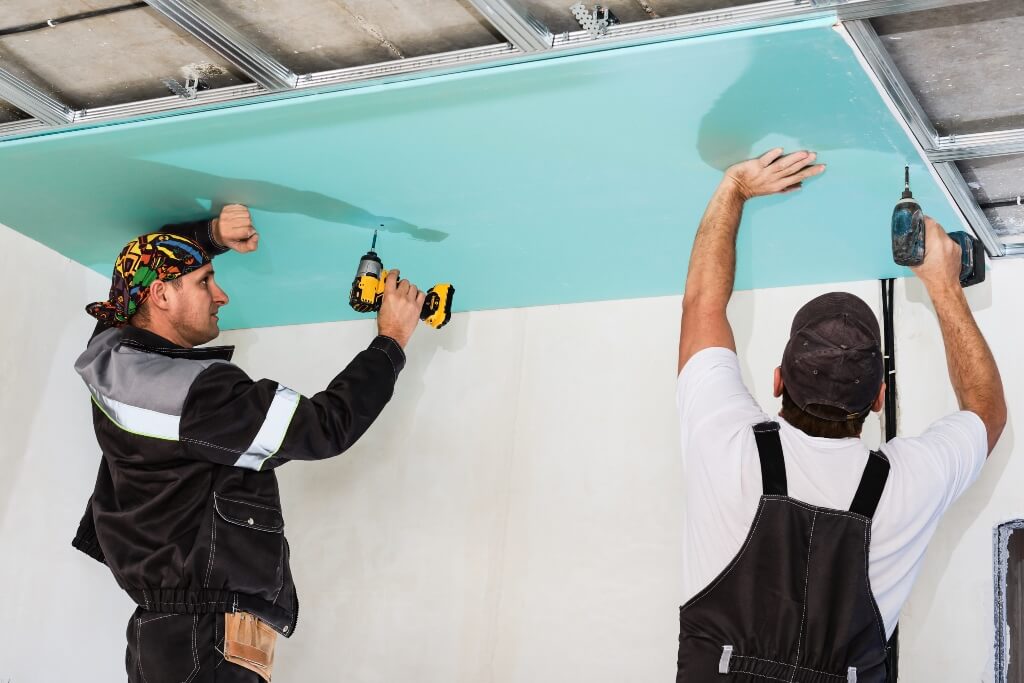
Screwdriver Or Screw Gun
To drive in the plasterboard screws, you’ll need either a screwdriver or a screw gun. A screw gun can significantly speed up the installation process, as it automatically stops when the screw is flush with the plasterboard, preventing over-tightening.
Utility Knife
A sharp utility knife is crucial for trimming plasterboard sheets to fit your space accurately. Whether you’re making cuts to accommodate outlets, windows, or any irregularities in the walls, a utility knife will be your best friend throughout the installation process.
T-Square & Spirit Level
A T-square and a spirit level are indispensable tools for precise measurements and straight cuts. The T-square helps you create accurate right angles, while the spirit level ensures your plasterboard sheets are installed perfectly horizontally or vertically.
Drywall Tape
Drywall tape, often made of paper or fibreglass mesh, reinforces the joints between plasterboard sheets. It helps prevent cracks from developing over time. Apply jointing compound over the seams, press the tape into the compound, and then apply another compound layer to create a smooth finish.
Sanding Tools
Sanding is an essential step in achieving a flawless plasterboard finish. Invest in sanding tools such as sanding blocks or a powered sander to smoothen out the jointing compound and create a seamless surface. Remember to wear a dust mask and eye protection while sanding.
Primer & Paint
Once the plasterboard installation and jointing are complete, it’s time to prepare the surface for the finishing touches. Apply a coat of primer to seal the plasterboard and create a smooth surface for painting. After the primer has dried, you can paint the plasterboard with your chosen colour to match your interior design.
Comments are closed.